
In this tutorial, we will be going through the steps to enable Password Authentication for OpenVPN for both the server and client sides.
At this point, we assume you have an OpenVPN server installed and working (via Certificates ) on Ubuntu Server.
Steps we are going to follow
• Add a new User on the server and set a password
• Edit server.conf file and enable password authentication on the server.
• Edit client.ovpn file and specify to ask for username and password during login.
Step 1 : Adding New User
Type the below command to create a new userroot@ubuntu:~# useradd user1
Set the password of the newly created userroot@ubuntu:~# passwd user1
Step 2 : Server Side configuration to enable Password Authentication on OpenVPN Server
Locate the openvpn-plugin-auth-pam.so file, it is usually present on any one of the below location/usr/lib/x86_64-linux-gnu/openvpn/plugins/ or /usr/lib/openvpn/plugins/
In our case, file openvpn-plugin-auth-pam.so is present on the directory “/usr/lib/x86_64-linux-gnu/openvpn/plugins/“
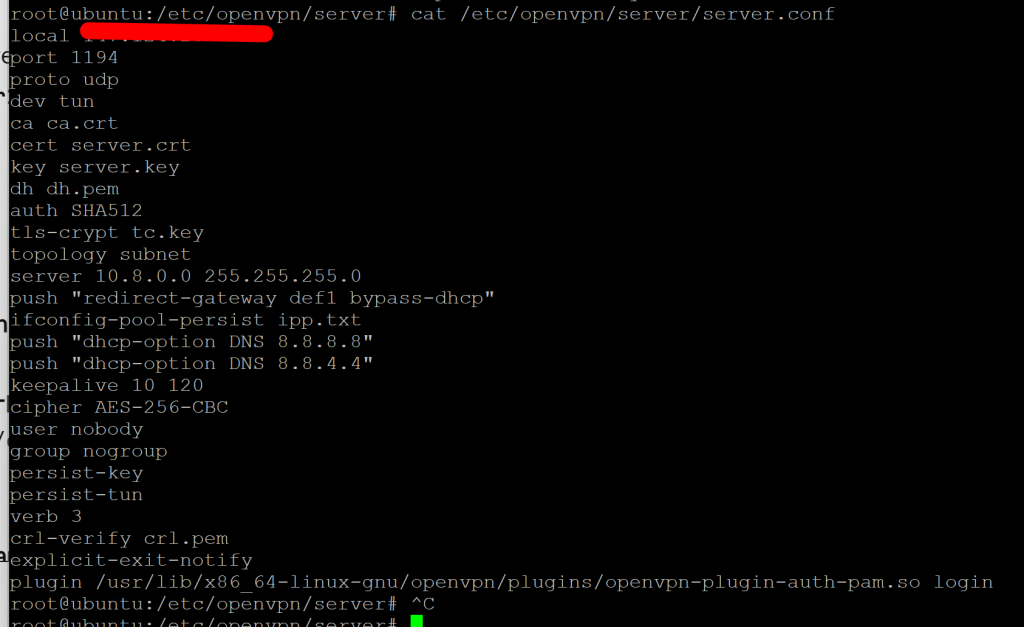
Edit the server.conf file using your favourite editor and add the below line at the endplugin /usr/lib/x86_64-linux-gnu/openvpn/plugins/openvpn-plugin-auth-pam.so login
So, your final server.conf file should look something like this
Save the file and exit
Step 3 : Edit client.ovpn file to specify to ask for the username password auth
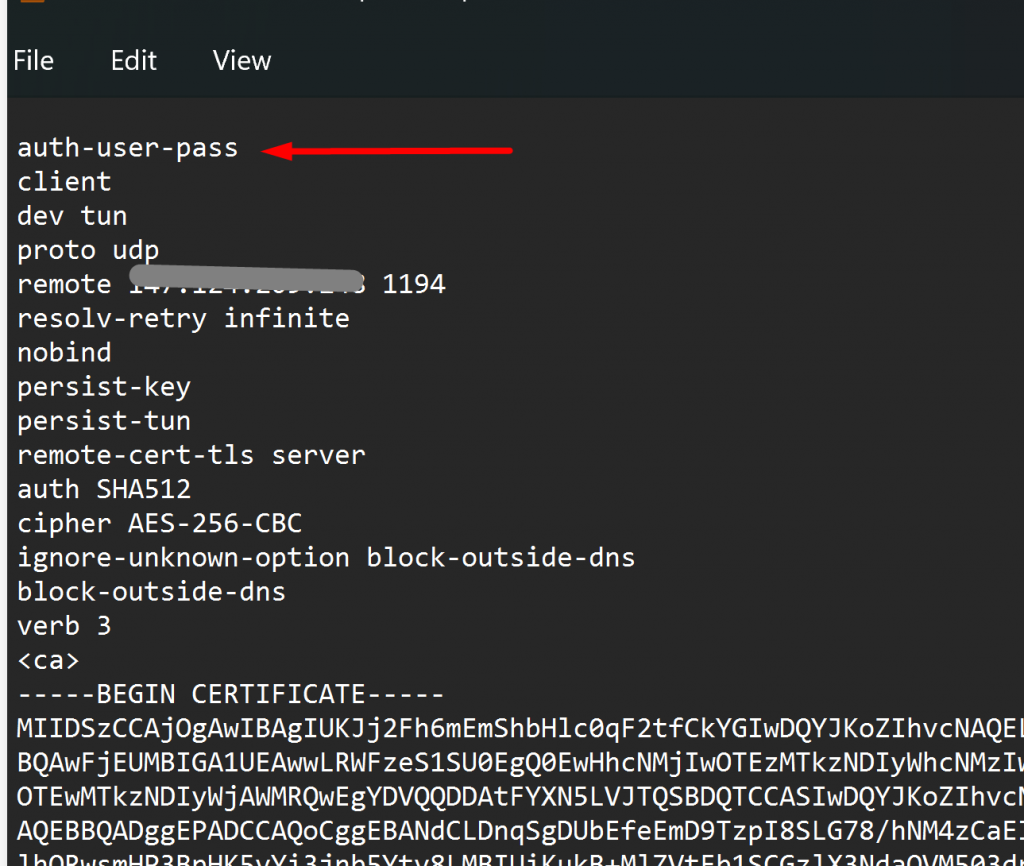
At the top of the file add the below line and save itauth-user-pass
Your client.ovpn file should look something like this
That’s all!
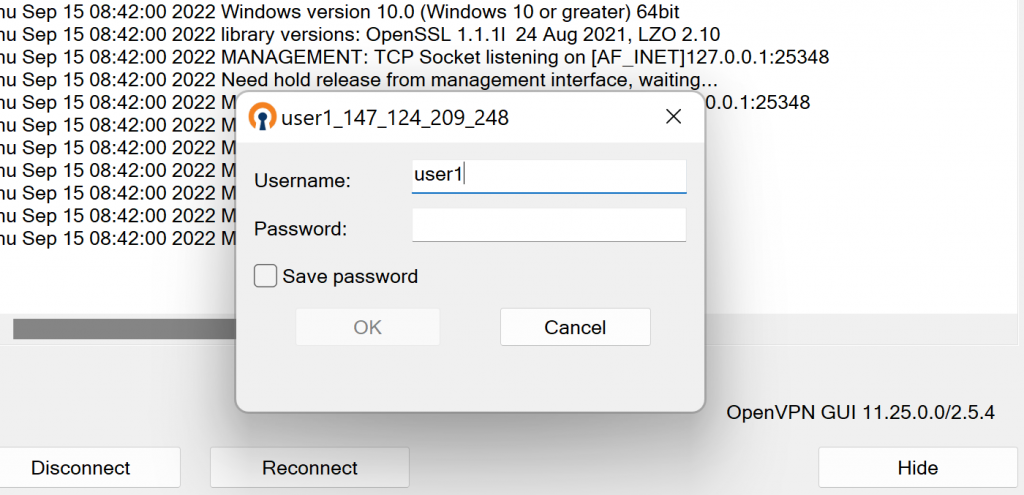
WHen you connect, it will ask you for the username and password (as shown below ). You need to enter the username of the user account created on step 1


Add comment